Weeks 2/3: VR Boot campEach day this week (and 2-3 days next week) you will be learning a different skill needed to build a VR world. To maximize our resources, we will split into three groups each working on a different skill set. You won't be an expert by the end of the week, but you will hopefully learn enough to know which skill you would like to specialize in and how to effectively supervise a team should you become a producer. The first rotation gets an extra day to make up for time used getting started.
At the end of Boot Camp, you will take a proficiency exam to assure that you have the minimum skills needed to proceed. You will be assigned to a random category (video, Blender, or Unity) for the test and have 2 hours to complete the assignment. The tasks are open book (you can look up details or even peruse tutorials) but every minute spent researching is a minute you won't be doing. There won't be time to learn everything needed. You will have an opportunity to "buy" the category for your proficiency exam by accepting a 1 letter grade penalty up front. Thus, a 95% would become an 85% if you take this option.
|
|
|
|
Unity is the programming environment we use to make VR worlds interactive. If you want the user to move, grab, touch, or choose something in your VR world, you will need to program it. You will need a ThinkPad to run Unity and you will need a Unity account. It works best to have the tutorial running on a Chromebook while you work through the steps on a ThinkPad. Work in pairs - 1 ThinkPad + 1 Chromebook per pair.
Day 1: Create a Unity account for each person in your group. Go to https://unity3d.com/ and click on the silhouetted person icon in the upper right hand corner. Then click on "Create a Unity ID" button and fill out the form. Once you have an ID, you can start the "Roll-a-Ball" tutorial. Try to get through the first two sections ("Introduction" and "1. Environment and Player"). Day 2: Continue Roll-A-Ball. Get through "2. Camera and Play area" at least. As time allows, get as far through "3. Collecting, Scoring and Building the game" as you can. |

|
Blender is a 3D modeling program. That is, you can build 3D objects with it. But VR worlds are by definition 3D worlds so anything we want to put into it will also need to be 3D. Think of Blender as Photoshop in three dimensions. Drawing in a third dimension is tricky when you are working on a 2D screen so it will take a little getting used to.
Start with this short description of 3D modeling. Then continue with the 10 part tutorial at the end of the video. You have two days to get as far as you can. On your mark, get set, GO! Here are the first six parts which will be most useful for us. These tutorials move slowly so you should be able to keep up easily. Be sure to do as you watch. And share the controls - switch off after each tutorial. If you get done early feel free to continue this series or go find other tutorials that interest you. Day 1:
|

Adobe Premiere Pro CC
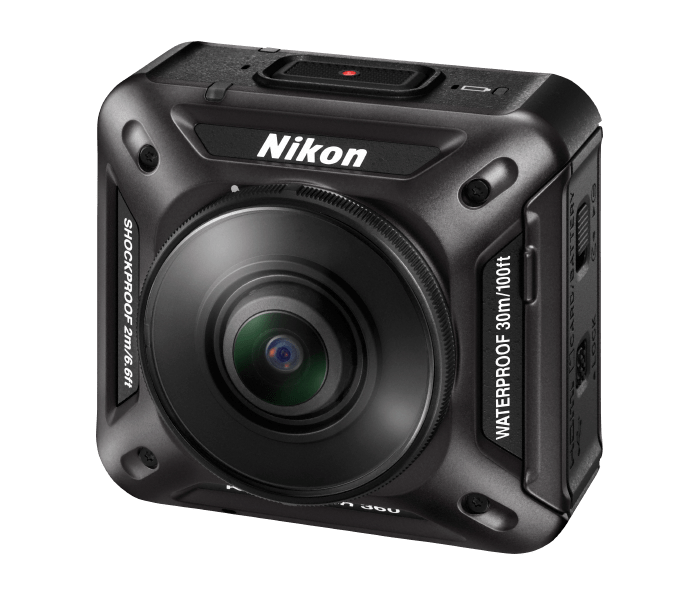
Nikon KeyMission 360
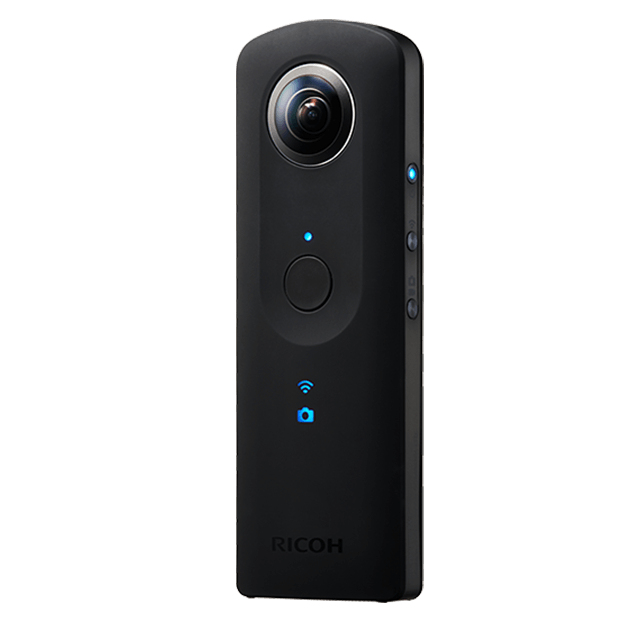
Ricoh Theta S
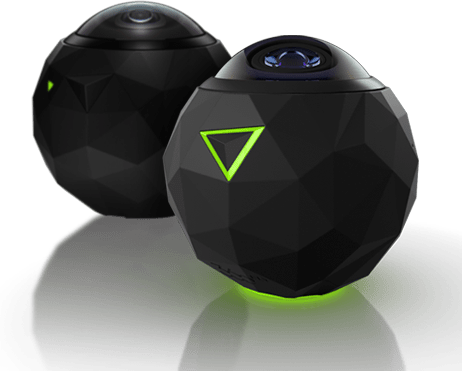
360Fly
|
Immersive video is probably the most common application of VR. Shooting, editing, and uploading 360 degree video is relatively easy so within two days, you should have your first VR video on YouTube to show your friends. They will be impressed.
Over the 2 days, you will use each of three types of cameras:
each camera, do the following (in pairs):
Complete steps 1-9 for one of the cameras. If you get done early, repeat with a different camera. Day 2: Repeat Day 1's task for both of the other cameras. Be sure to email Dr. Don the links to your uploaded YouTube videos. |